Bypass the Hydraulic Valve on Your Trailer
- Disengage PTO and be sure truck is either off or disconnected prior to maintenance
- Make sure pressure has been relived from the hydraulic lines
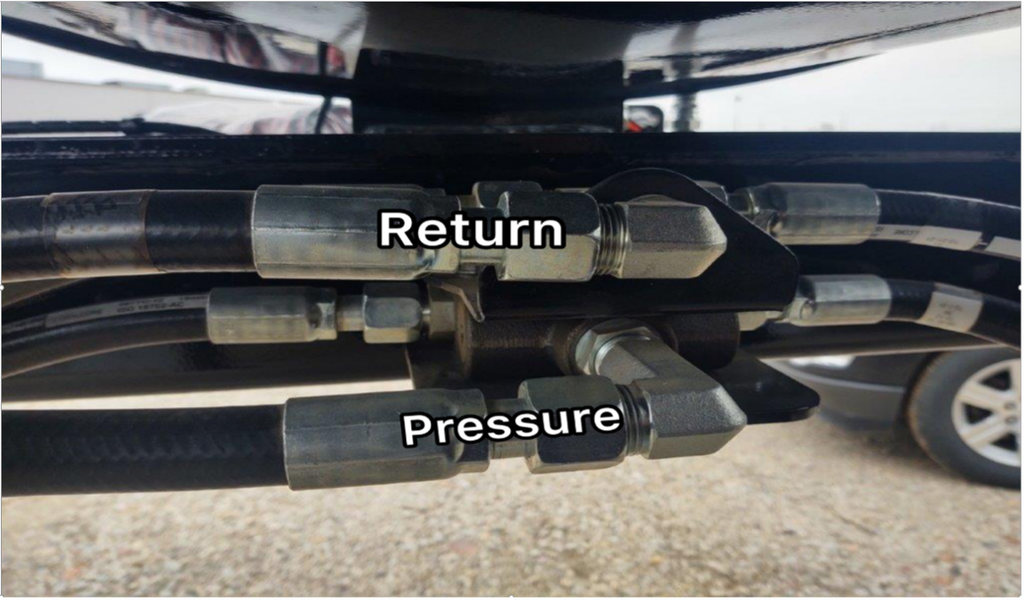
- Remove the pressure line (See picture #1) from flow divider valve & from the control valve
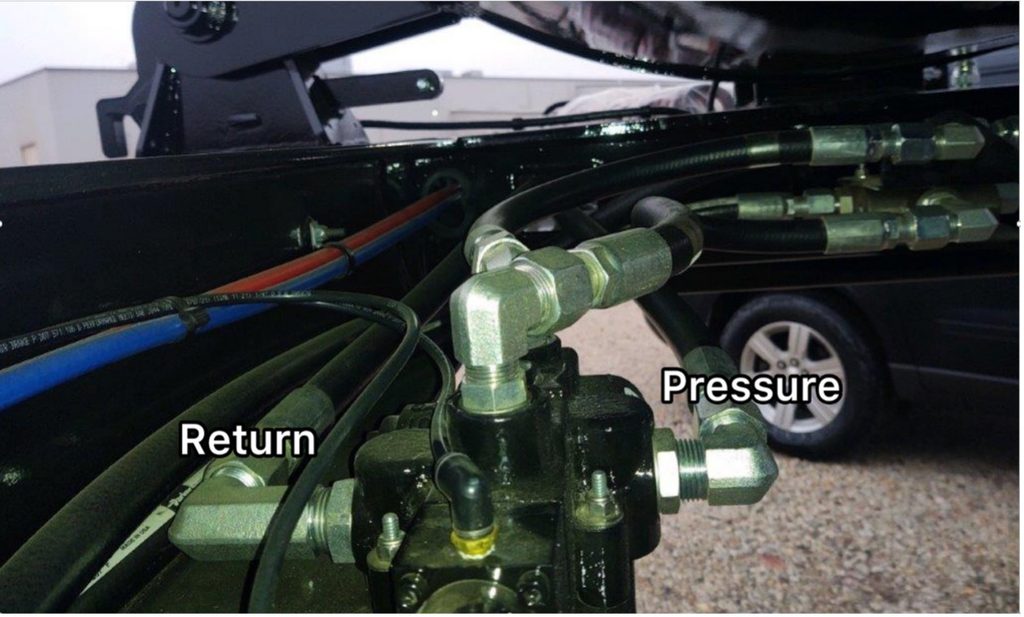
- Remove the pressure line from the control valve (Picture #2) and re-install on the flow
Picture #1 (Viewed from rear – flow divider/Tee)
Picture #2 (Control valve to be removed)
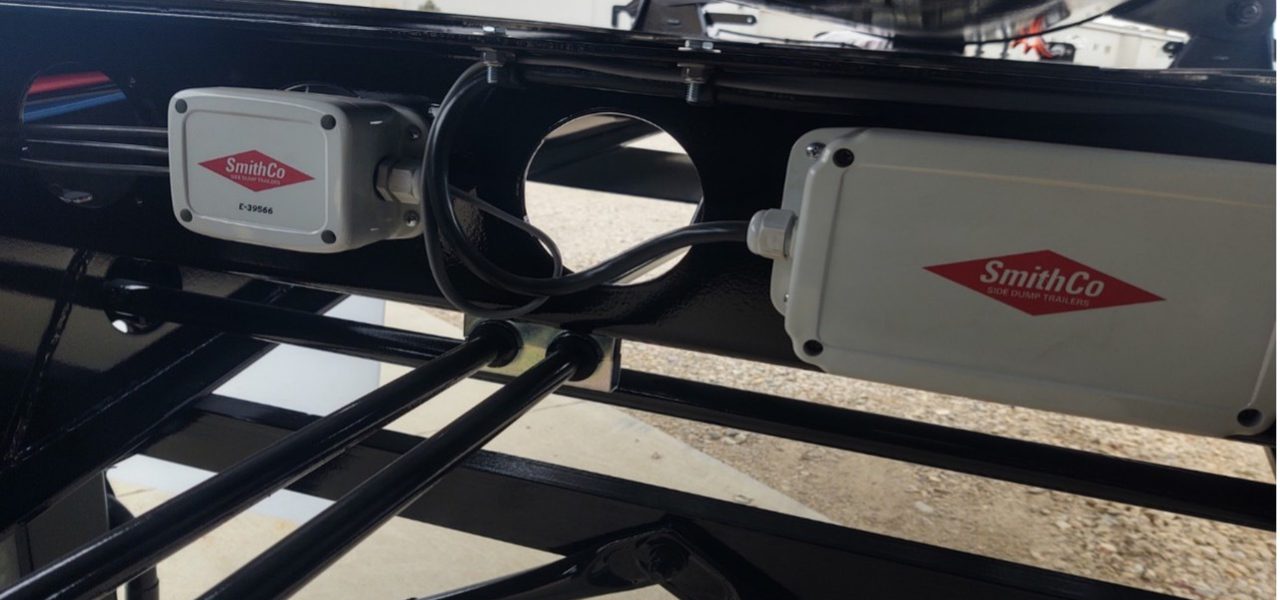
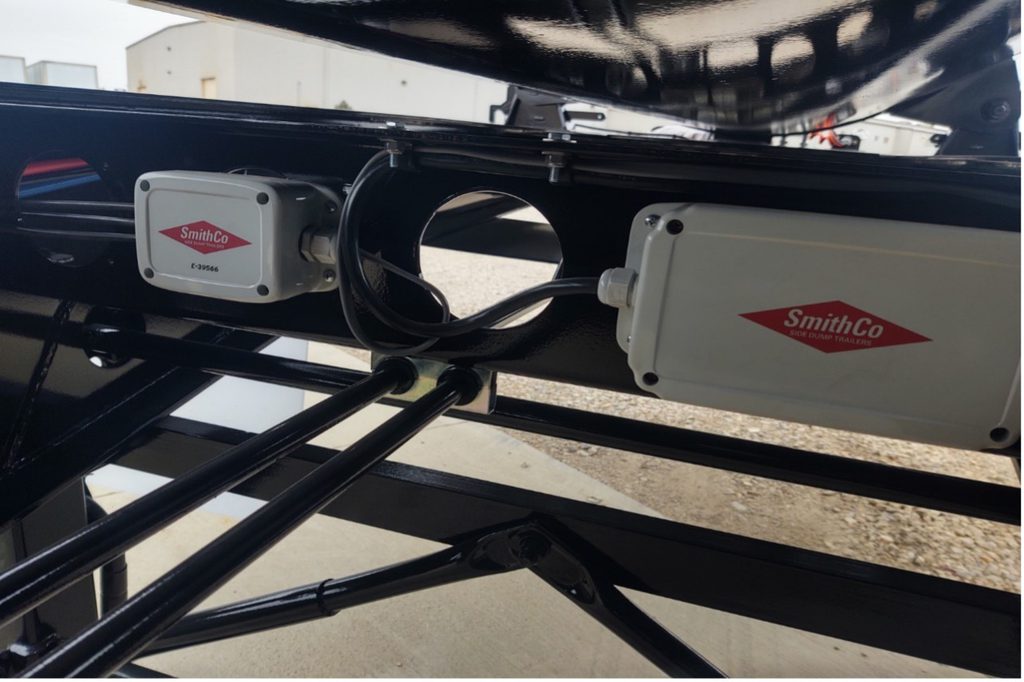
- Remove the air lines coming from the control valve that run into the smaller “SmithCo” gray box E39566. There is an air line that runs from this smaller “SmithCo” box, to the rear of the trailer, follow the line to a tee in the line, remove the line that goes back to the “SmithCo” box & cap at the tee.
- There is a jumper wire from the smaller “SmithCo” box over to the larger “SmithCo” box. Remove the jumper wire from the larger “SmithCo” box & plug the hole.
- Test the system to make sure it is plumbed correctly & check for leaks
- Remove air from the hydraulic system
- Suck tub down on to frame. Hold switch for 4-5 seconds so hydraulics go over relief
- Dump tub ¼ of the way, bring back down to frame and hold switch 4-5 seconds so hydraulics go over relief
- Dump tub ½ of the way, bring back down to frame and hold switch 4-5 seconds so hydraulics go over relief
- Dump tub ¾ of the way, bring back down to frame and hold switch 4-5 seconds so hydraulics go over relief
- Dump tub fully, hold switch for 4-5 seconds in dumped position so hydraulics go over relief
- Bring tub back down to frame and hold switch 4-5 seconds so hydraulics go over relief
- Fully Cycle the tub 3 additional times, hold switch 4-5 seconds in each position so hydraulics go over relief